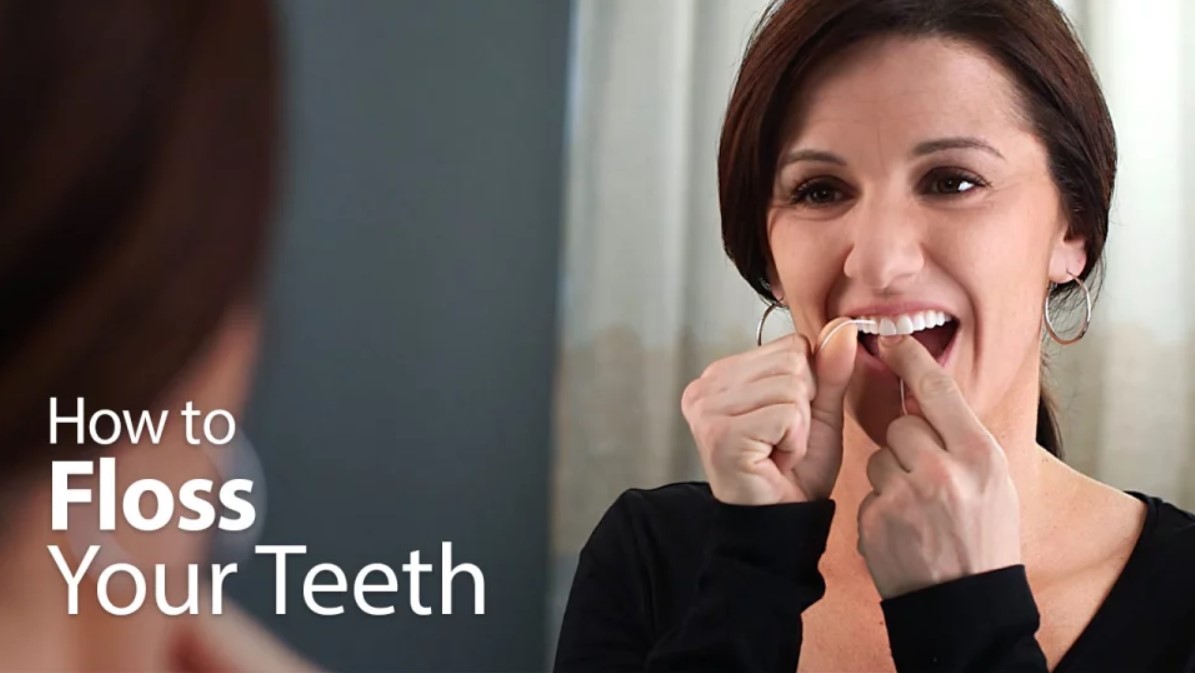
How to Floss Your Teeth?

Flossing is an effective way to remove food particles and bacterial plaque that are stuck in the gaps between your teeth and under the gumline where your toothbrush can’t reach. Bacterial plaque is a serious threat to your gums and teeth.
Therefore, it is important to floss at least twice each day. However, very few individuals floss their teeth daily because the process can be quite uncomfortable.
Flossing isn’t anything like inserting the thread between your teeth and moving it. When done incorrectly, you risk damaging your gum by tearing through its tender body and causing it to recede.
Even worse, you can cause the release of harmful bacteria into your bloodstream, which can lead to infection.
If you’re unsure about what to do with your floss, here’s how to go about the whole process.
Step 1: Prepare the floss
Tear off a piece of floss—12-18 inches is a preferable fit for attaining a good grip. If the gaps between your teeth are wider, choose a thicker taut, but for smaller spaces, choose a thinner one.
Unwaxed thread is most preferable to attain a natural and effective clean. But should you want less friction and more comfortable floss, add a little wax on the tape.
The type and materiality of the floss you intend to use also matter, so check if yours is dentist recommended and certified by the American Dental Association.
Step 2: Wind the floss on your middle fingers
You’re free to wind the taut on any finger; just that tightening it around your middle finger gives you an edge to vary the angles of your flossing.
A gap of about three to four inches between the two middle fingers will help you use a combination of fingers when flossing. It also makes you work comfortably and hit hard-to-reach spots in your mouth.
Step 3: Stand in front of a mirror
There isn’t any doubt that your first-time flossing will be a bit tricky.
Flossing on the mirror will help you remove any uncertainties as you can observe the thread move and direct it to the required spots.
Once you reach the expert level, you should be able to floss without the mirror and even in the dark, without affecting the circulation of the flossing thread.
Step 4: Guide the floss between your teeth
Tighten the flex of the flossing thread using the two fingers, then gently direct it towards the spaces between your teeth.
You can begin with the two spaces between one tooth or capture random spots simultaneously.
In one gentle motion, push the taut inside, making sure not to hit directly into the gum. Relaxing your face when doing this enables you to achieve a comfortable clean and minimize stress.
Step 5: Begin flossing
Once the taut is inside, keep it slack and gently curve it between the tooth. Move it up, and down the surface of the tooth; you’re cleaning until you’re sure all the grime is removed.
Unwaxed floss will produce a squeaking sound once the tooth is clean enough to signify you when to move to the next tooth.
But before that, turn and clean the inner surface of the tooth too. Repeat this process for all the spaces in your teeth, including molars and premolars.
Step 6: Rinse and toss the floss
Rinse the mouth with clean water to remove the resultant dirt. Finally, toss the floss safely in a bin.
If you follow this procedure carefully, you should achieve a safe, timely, and thoroughly clean with no detrimental aftermath.
If you’re still having a hard time using this technique, try using oral hygiene aids. Products such as floss holders, water flossers, interdental brushes, and floss threaders are designed to make flossing easier.
If you experience any discomforts while flossing, this could be an indication that you are using too much pressure or doing it incorrectly. You could ask your dentist for a demonstration during your next appointment.
If you’re flossing correctly and your gums bleed, this could be a sign of gum disease, which requires to be checked by a dentist.
